10th Feb 2019
Lots of things to do
 |
| Exhaust looks OK...... |
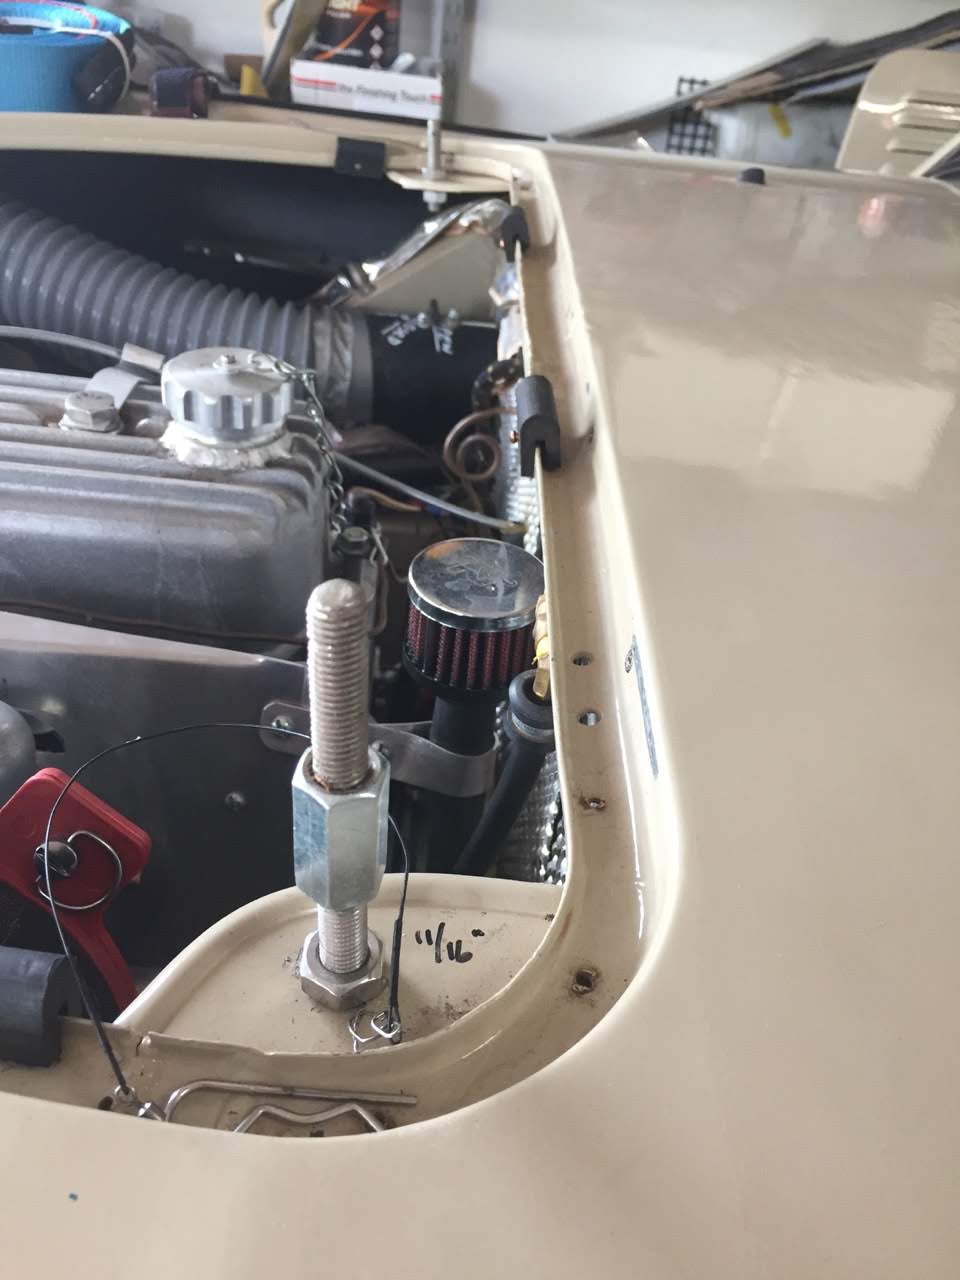
Well, the exhaust didn't exactly fall off, but it started "fluffing", and I knew there was a problem. Back in post 0077 I had noted that there was a small crack in the exhaust, but it wasn't blowing at that stage, although I still intended to get it welded up. But over this past week I have driven the car quite a lot, and on Friday it was noticeably getting noisier. So over the weekend I took the cover panel off, and set to removing the muffler itself. Although annoying that it had to be done, I guess it was good for me to have to do it myself so that if it needs to be done at any other time during P2P, i know how to do it.
 |
| And the mount seems fine |
Once I had the two mounts undone, I could see the problem - the front mount was broken ! (There was also still a lot of red dirt caked
in around the mounts !!) The mounts used are Austin Healey Sprite exhaust mounts and are a hard rubber bushing sandwiched between two metal attachment plates, and are mounted in compression, not
 |
| But the mount was broken |
shear, so there should be no problem. In this case the upper metal plate had just delaminated from the rubber. Over the weekend I experimented with the broken mount and tried wirelocking it as a way of preventing, or at least limiting, de-lamination of other mounts, and it seemed to work quite well - At least it would minimse the chance of mounts literally falling apart in future.
 |
| Delaminated mount |
Once disassembled, I took the broken mount over to CCC for Steve's opinion and was told that while this is not good, it is not the first time they had seen it. Rob told me that some people drill through the mount and put a nut and bolt right through it, so preventing de-lamination, and also being much stronger than lock wire (that I had experimented with initially). So I set off home to experiment.
But first I had to call into the upholstery shop to check on the repair to the split canvas seat cover. They are inserting a strengthening panel in the top to spread the load when we slide down into the seat, pulling the back of the seat cover with us. They had made a rough sample, and I took this home to try. After that it was off to Marine Control Systems to search for a less acute angle throttle cable tube - The current one is 90
 |
| New accelerator mount |
degrees and recently I have found that the throttle was "sticky", meaning it was hard to apply the throttle smoothly, and I felt that maybe the 90 degree bend was the problem, especially since it didn't have an internal liner to help ease the friction. They only had 90 degree units, but gave me one to fiddle with to see if I could open it up a little, which we were later able to do. Once that was fitted it seemed to work much better, although getting to the end of the cable down in the driver's foot well and still having room to use both arms on spanners to tighten the lock nut is not something I want to do every day ! Not a lot of head room in there !
 |
| Muffler all welded up |
Then it was off to Andrew to get the muffler hole welded up, and
also to weld up a crack in one of the underfloor storage bases. While there, we managed to gently reduce the angle of the throttle cable tube, so I will try that once I have finished the exhaust. Finally I got home by lunch time, and after a quick bite, checked that the seat cover reinforcement fitted, and then drove it back to the upholstery shop so they could finish it off and do the other one.
 |
| Drilling holes through the mounts |
I was then able to start working on modifying the muffler mounts. I drilled through the steel plates on either side as well as the rubber cushion in between, and then had to run down to the bolt shop as all the bolts I had were too short ! With the correct length bolts, and the edge of the hole countersunk to accomodate the chamfer headed bolts, I then bolted them up. You can't do them
 |
| Finished exhaust mount |
up too tight or you squish the rubber cushioning out of shape, and I didn't want to use nylocs due to the heat of the nearby exhaust, so i used double nuts as well as threadlock and a lock washer to lock them in place. These mounts aren't going to delaminate again !!
After sorting the mounts out, I re-fitted the muffler, which took a while as it is a very close fit in there, and by the time supper was ready I was only half done - Will complete the job tomorrow. But as I say, good to do this job now in the comfort (or at least dry) floor of my garage, so I know how it all goes back together.
 |
| Regreasing wheel bearings |
Another messy job this week was regreasing all the spare wheel bearings that we have run on the car until now, proved that they work ok and will be carrying as spares. Once greased, they were all packed in sealed bags for storage, and they can now be put straight on the car if required. Whilst covered in grease, I took the opportunity to full up the small grease gun we are carrying.
 |
| Preparing the underfloor bases |
I then moved on to the base for the underfloor storage boxes. These were supposed to be permanently in place, and were well siliconed in to make them both water proof and dustproof. However, after Alice, when we realised that we had to change the seats for something more comfortable and hard wearing, I unfortunately had to remove them because the seat bolts through the floor were only accessible from below, with the base panel removed. That was an absolute nightmare and took me hours - But as that was 4 months ago I have forgotten about that ! This time we have welded the seat bolts in position from underneath so that in future the seat can be easily removed from inside the cabin, and now it was time to put the bases back in so we can load the storage areas before the car is
 |
| Adding silicone to the seals |
shipped. First I had to get a couple of welding repairs done where the panels had weakened, especially around a couple of the rivnut fasteners that were spinning and needed to be replaced. Once this was done, and the panels were trial fitted to ensure the bolts all lined up before I put silicone everywhere, it was time to put them on. Always a bit messy when working with silicone, but eventually they were on and sealed. NOT COMING OFF AGAIN ! When the car next goes up on a hoist I will double check to make sure there are no gaping holes to let water in !
 |
| Resetting bonnet pin heights |
A while was spent resetting the heights on the bonnet extension pins to make sure they both fitted properly and lined up correctly, and then it was time to tackle a big cleaning job. Under the car, and round the wheel arches, was still a lot of red dust from Alice. Every time you take a part off, behind it lies a new source of red dust ! And when I took the muffler off, I had found lots. I decided to move the car out into the street to do this, and it turned out to be a full days work. Having jacked the front of the car up, I removed the front wheels and cleaned all the suspension and inside the wheel arches with a pressure gurney, and the road beneath the car slowly turned red ! While I was in the wheel arches I checked all the bolts down there and made sure everything was tight - Particularly the front damper mounts - Which haven't loosened at all since the last check. The wheels also were filthy on the inside, not just with
 |
| Cleaning underneath |
sand but also grease that had spun off the splined hubs (need to add less in future ?) and this took a lot of elbow grease to
 |
| Getting into every nook & cranny |
 |
| Red dust in the road ! |
remove. After the front was completed I moved onto the back, and when I put the gurney in the rear mudguard voids at the back, the water ran out red for a good 60 seconds ! Once the rear wheels were clean and remounted, I moved the car and realise I needed to gurney the road before the neighbours
started complaining - The road was as red as most of the roads in the Territory ! And in driving round the block, I was reminded just how bad drum brakes can be when they are wet - Great care needed until they dry out !
Over a hot weekend, I then turned to the First Aid Kit that we are required to carry, and the contents of which are subject to a scrutineering check once we get to China. We had a CAMS
 |
| Sorting out the First Aid Kit |
approved kit we had purchased for Alice, but ERA requirements are considerably stricter, so for the past few weeks I have been getting prices from chemists for the various extras, as well as cadging lots of bits and pieces off family and friends who are either in the medical or the dental business ! I think we have just about everything, although it is hard to
 |
| Bulky, but quite light |
tell because ERA use English terminology or item descriptions, which are different over here - Even the chemists and doctors didn't know exactly what some of the listed names referred to ! Still, all done now except some of the pills, but the bag is quite big, and yet another item than needs to be stored somewhere - Presumably somewhere where it can be reached in a hurry ! Fortunately it isn't too heavy.
 |
| Cutting off bits of map we don't need ! |
Next it was on to the paper maps which I had purchased some months ago. Over the past few weeks I have been slowly working my way through the route information provided by ERA, trying to get a mental handle on roughly where we are going, and using a spreadsheet of info and then online maps to help figure it all out. Finally I got to the paper maps, which I love poring over, and seem to bring the whole adventure to life - And a lot closer too !! When I look at the country(s) we will cross, and the distances we will travel, it all becomes quite daunting. About the same as crossing Australia 3 times, but doing it all on the Gun Barrel Highway and across the Simpson desert tracks instead of on the main roads ! Paper maps of where we are going are hard to find - One shop even said "There are no maps because there are no roads !" But we will carry the basics as the always provide a good reference point to see where you are headed each day, and perhaps some of what you might expect. I did find that a couple of the maps covered large areas where we aren't travelling (unless Ashton doesn't follow my directions (😊), so I cut those unwanted sections - Saving weight and space !!
 |
| Tyre Dog pressure sensor |
With the maps sorted, it was time to re-install the Tyre Dog tyre pressure and temperature sensors. I
had refitted these a couple of weeks ago and found that the numbers on the screen were wildly different from those from a good pressure gauge, so we had returned the unit to the supplier in Melbourne for re-calibration. They arrived back this week, not only recalibrated but also with 2 totally new sensors, so there really had been a problem ! On refiting them, all was good, with all pressures within 0.5 psi of the tyre gauge, and the temperatures similar on each tyre while sitting the the garage. Another example of "thank goodness we checked that early" - Because like a few other things, if we had waited till the last minute, we would have had a protential problem.
The rest of the weekend has been spent cleaning up the reams of paperwork that is crossing my desk, not only all the information required by ERA, shipping companies, insurance companies etc, but also all our own information and documentation - Technical information on instruments, "how to.." items, registration and other documents we need to carry, and lots more. One item I have spent some time
 |
| Fuel translation sheet !! |
on is getting together a basic list of words and phrases we need for each country - Please, thank you, I am last, is this the road to..., and numbers 1-10 so we know how many we are buying !! Making sure you can read what is coming out of the nozzle of a fuel pump is also worthwhile information !! Ashton arrives up next weekend and we will be going through a lot of the lists, and also finalsising trying to pack all our spare parts and tools etc. We are also going out on a Healey Club run next Friday, as well as having a get together with a few of our fellow Queensland based P2P participants, so that will be a good chance to chat about everything.
Rest of the pics for this week are here :-
https://photos.app.goo.gl/1wqfCQdiXpFQ1mey9


The Russian you have shown as petrol is really benzin. suggest you download the Russian dictionary into Google translate.
ReplyDelete